1) 프로젝트 생성
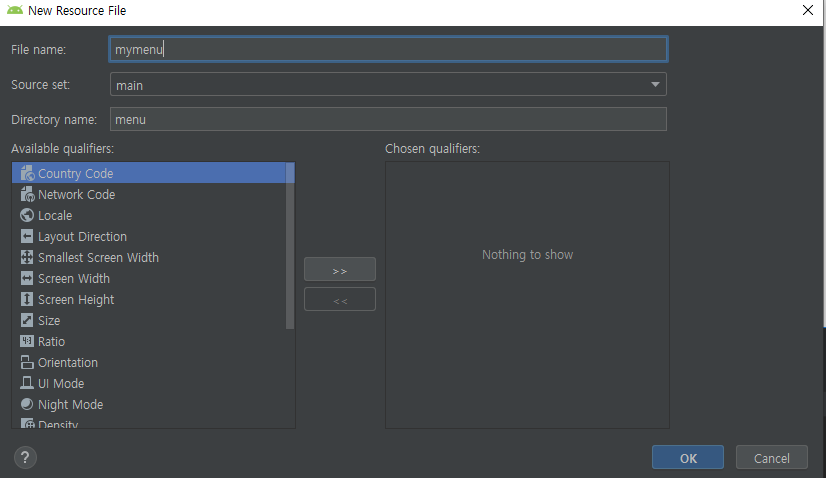
2) res> menu directory 생성

3) menu 폴더에 xml 파일 생성

4) 메뉴 xml 파일 코드 작성
|
1
2
3
4
5
6
7
8
9
10
11
12
13
14
|
<item
android:title="첫 번째"
android:icon="@drawable/ic_launcher_background"
android:id="@+id/first_opt"/>
<item
android:title="두 번째"
android:icon="@drawable/ic_launcher_background"
android:id="@+id/second_opt"/>
<item
android:title="세 번째"
android:icon="@drawable/ic_launcher_background"
android:id="@+id/third_opt"/>
</menu>
http://colorscripter.com/info#e" target="_blank" style="color:#4f4f4ftext-decoration:none">Colored by Color Scripter
|
여기서 아이템 설정에 android:showAsAction="ifRoom" 을 하게 되면
만약, 툴바(앱바)에 아이콘이 표시될 공간이 있다면 표시해주게 된다.
onCreateOptionsMenu 오버라이드 하기
|
1
2
3
4
5
6
7
|
@Override
public boolean onCreateOptionsMenu(Menu menu) {
MenuInflater inflater = getMenuInflater();
inflater.inflate(R.menu.mymenu,menu);
return true;
}
|
inflater를 통해 메뉴를 풍선에 바람 넣어 형태를 만들듯 툴바에 메뉴 아이콘이 생기고
클릭하게 되면 메뉴가 표시된다.
6) onOptionsItemSelected
|
1
2
3
4
5
6
7
8
9
10
11
12
13
14
15
16
|
@Override
public boolean onOptionsItemSelected(@NonNull MenuItem item) {
switch (item.getItemId()){
case R.id.first_opt:
Toast.makeText(getApplicationContext(), "첫번째", Toast.LENGTH_SHORT).show();
return true;
case R.id.second_opt:
Toast.makeText(getApplicationContext(), "두번째", Toast.LENGTH_SHORT).show();
return true;
case R.id.third_opt:
Toast.makeText(getApplicationContext(), "새번째", Toast.LENGTH_SHORT).show();
return true;
default:
return super.onOptionsItemSelected(item);
}
}
|
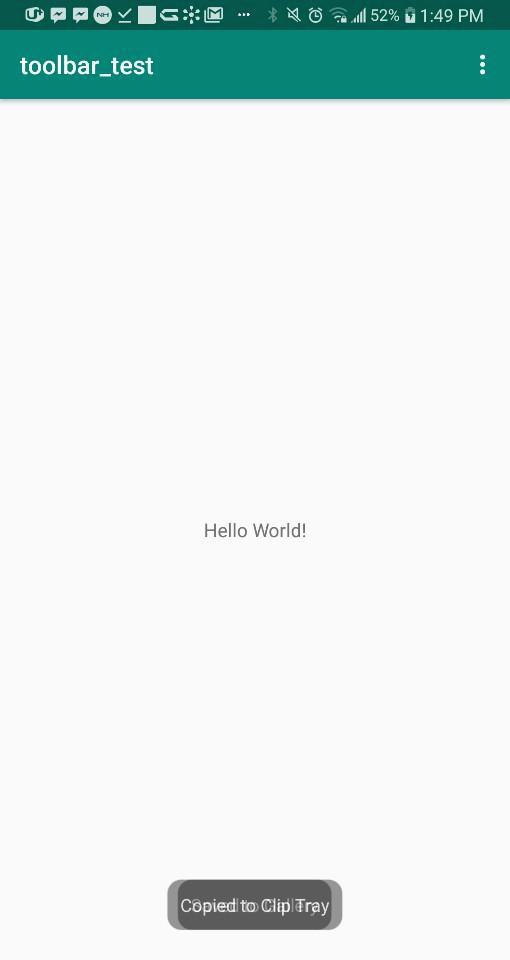
결과 확인


아이템을 클릭하게 되면 토스트 메시지가 출력되게 된다.
소스코드는 깃허브에서 다운 가능합니다.
https://github.com/3210439/toolbar_test
3210439/toolbar_test
Contribute to 3210439/toolbar_test development by creating an account on GitHub.
github.com
'안드로이드_JAVA' 카테고리의 다른 글
| [안드로이드_Java] RecyclerView+CardView #2 (0) | 2020.01.03 |
|---|---|
| [안드로이드_Java] RecyclerView+CardView #1 (1) | 2020.01.02 |
| [안드로이드_JAVA] SharedPreference (0) | 2019.12.04 |
| [안드로이드_JAVA] TapLayout (0) | 2019.11.30 |